
devon4net Cobigen Guide
Overview
In this guide we will explain how to generate a new WebApi project from an OpenAPI 3.0.0 specification. This means that we are going to use a “contract first” strategy. This is going to be possible due to these type of files that contain all the information about entities, operations, etc…
In order to make it work we are using CobiGen, a powerful tool for generating source code. CobiGen allows users to generate all the structure and code of the components, helping to save a lot of time otherwise wasted on repetitive tasks.
Getting things ready
devonfw Distribution
The devonfw distributions can be obtained from the TeamForge releases library and are packaged in zips files that include all the needed tools, software and configurations.
It is not necessary to install nor configure anything. Just extracting the zip content is enough to have a fully functional devonfw. The only thing you have to do is run create-or-update-workspace.bat and then update-all-workspaces.bat to set up all the needed tools.
devon4net Templates
We are going to use the template of devon4net as a base to generate all the code, so what we have to do now is to download said template using the following steps.
First of all you have to set up all the environment for .NET, you can do this using the following tutorial. Next we are going to create a new folder where we want to have the WebAPI project, lastly we are going to open the terminal there.
Type the following:
dotnet new -i `Devon4Net`.WebAPI.Template
and then:
dotnet new Devon4NetAPI
OpenAPI File
In order to let CobiGen generate all the files, we first have to make some modifications to our OpenAPI file.
It is obligatory to put the “x-rootpackage” tag to indicate where CobiGen will place the generated files as well as the "x-component" tags for each component, keep in mind that due to `CobiGen’s limitations each component must have its own entity.
You can read more information about how to configure your OpenAPI file and a working example here.
Generating files
Cobigen allow us to generate the files in two different ways. One of them is using Eclipse which it can be done by using the its graphical interface. The other way to generate the code is using the Cobigen CLI tool.
Generating files through Eclipse
In order to generate the files using Eclipse we need to follow some simple steps.
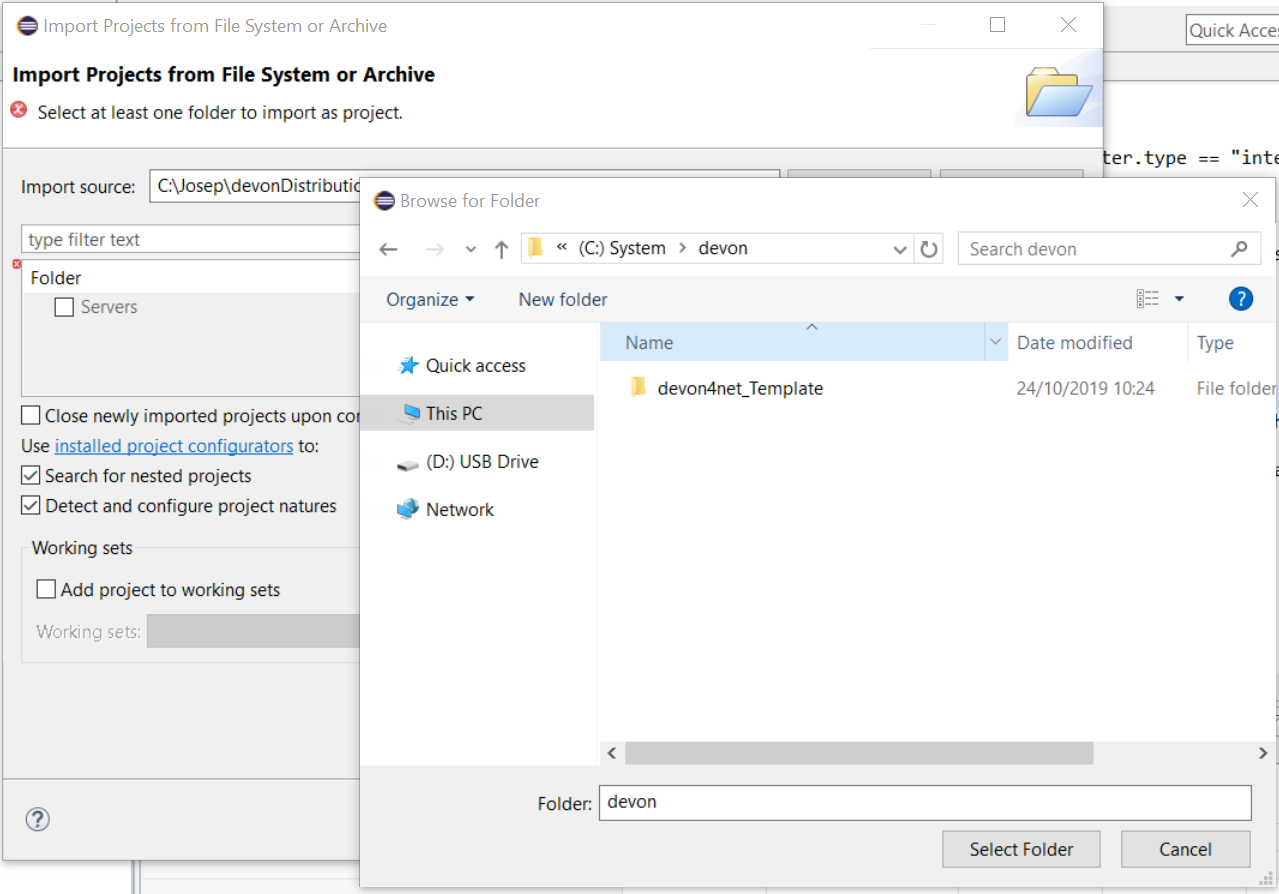
First we are going to import our basic devon4net WebAPI Project into Eclipse. to do so open Eclipse with the “eclipse-main.bat” file that can be found in the devon distribution root folder. Once we are inside of Eclipse we go to File > Open projects from file system… and, under "Directory", search for your project.
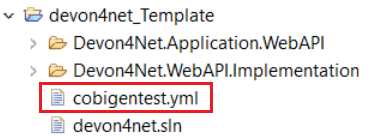
Next we copy our OpenAPI file into the root folder of the project.
And then we right click on OpenAPI file and then select CobiGen > Generate… It will display a window like this:
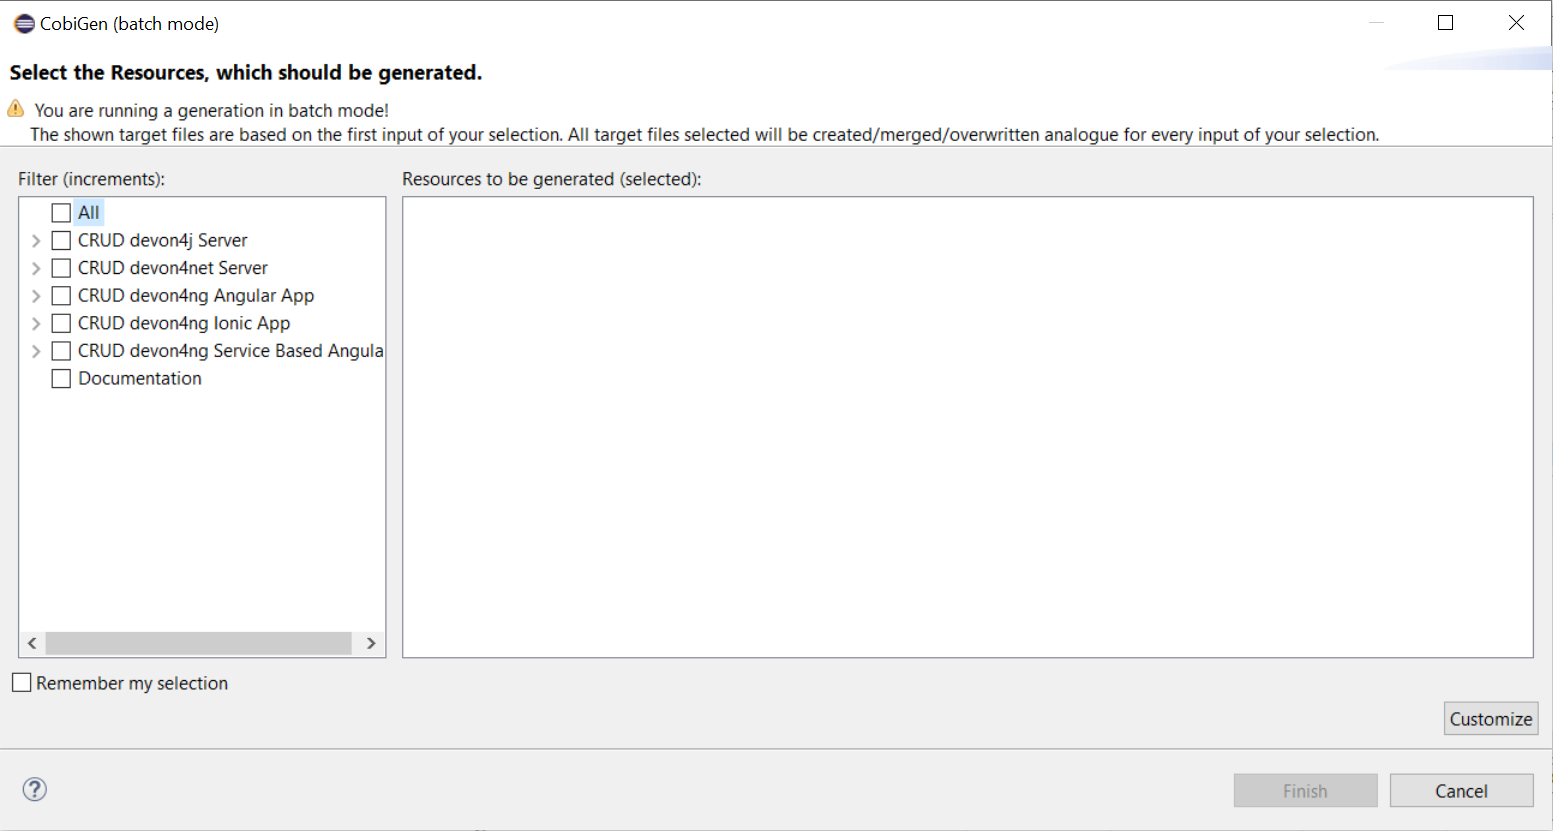
To select all .NET features choose CRUD devon4net Server otherwise you can select only those that interest you.

Ones you select all the files that you want to generate, click on the “Finish” button to generate all the source code.
Generating files through Cobigen CLI
In order to generate the files using the Cobigen CLI it is needed to do the following steps:
-
Go to devonfw distribution folder
-
Run console.bat, this will open a console.
-
Go to the folder you downloaded the devon4net template and your yml file.
-
Run the command:
cobigen generate {yourOpenAPIFile}.yml -
A list of increments will be printed so that you can start the generation. It has to be selected CRUD devon4net Server increment.
Configuration
Dependency Injection configuration
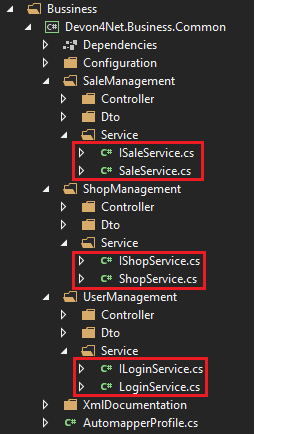
At this point it is needed to make some modifications in the code in order to configure correctly the server. To do so it is needed to locate the services and the repositories files that were created in Devon4Net.WebAPI.Implementation
Services location:
Repositories location:

Now, we are going to open the following file Devon4Net.WebAPI.Implementation\Configure\DevonConfiguration.cs.
In there we have to add the Dependency Injection for the services and the repositories that Cobigen has generated. The following image is an example of what is needed to add.
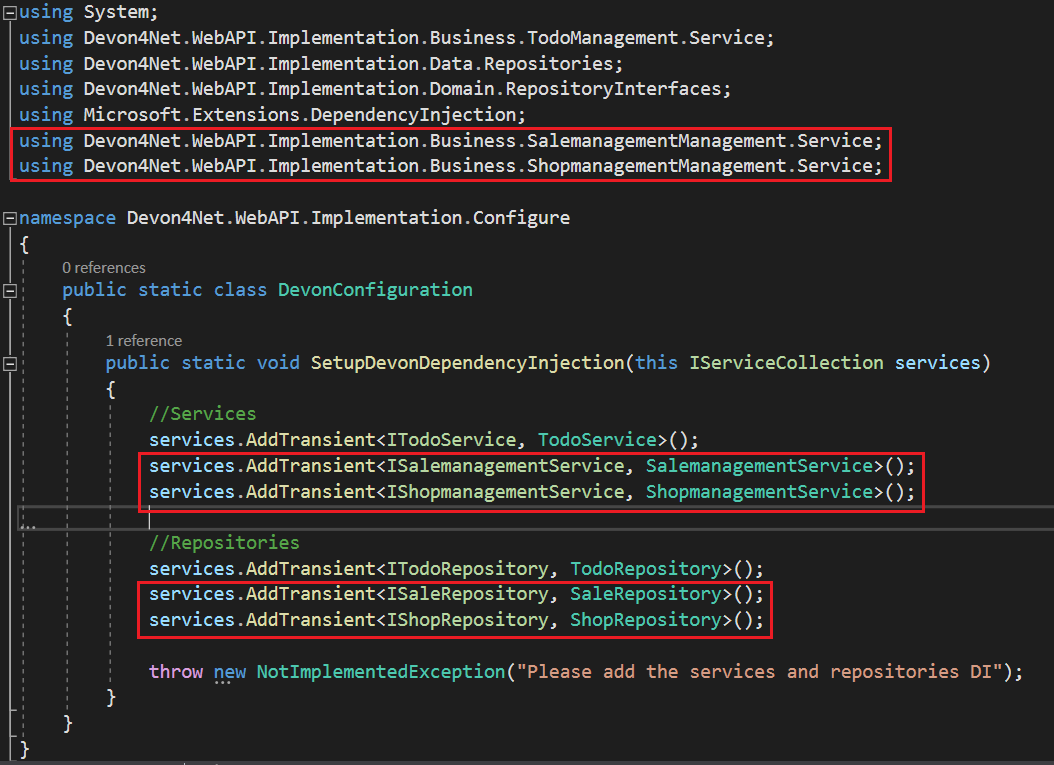
Moreover it is needed to remove the last line in order to be able to run the application:
`throw new NotImplementedException(...);`
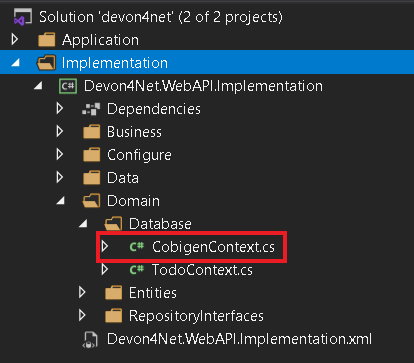
Configure data base
Cobigen is generating an empty context that has to be filled with manually in order to be able to work with the database. The context can be found in [Project_Name]/Devon4Net.WebAPI.Implementation/Domain/Database/CobigenContext.cs.
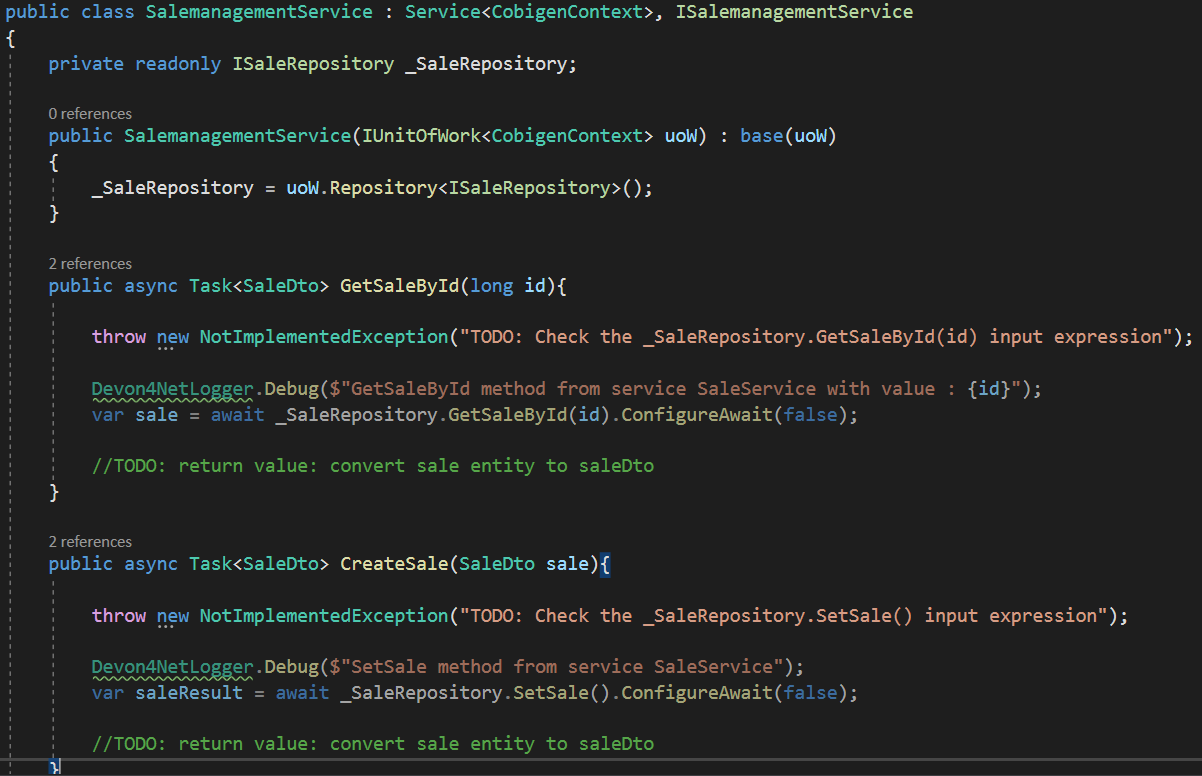
Configure services
In order to finish the configuration of the services it is needed to go to each service file of the managements generated.
In there we will see some "NotImplementedExceptions", so it is needed to read carefully each comment inside of each exception in order to be able to use the service. It can be shown an example of the service with its NotImplementedExceptions comments:
Run the application
After doing all the steps defined above, open a terminal in path: [Project_Name]/Devon4Net.Application.WebAPI and then type:
dotnet run
This will deploy our application in our localhost with the port 8081, so when you click here (https://localhost:8082/swagger) you can see, in swagger, all the services and the data model.