
Projects
Introduction to project management in the dashboard
-
The dashboard manages multiple projects in multiple workspaces that include Angular, JAVA, and Node.
-
The dashboard provides rich UI for creating multiple projects, abstracting all the functionality which is usually required while creating an application like opening a command terminal, specifying workspace, and executing commands.
-
The dashboard makes it easy to see all the projects which are in different devonfw-ide workspace, just by changing the "devonfw Instance" dropdown.
-
The dashboard makes it very easy to open a project in a different IDE like Visual Studio or Eclipse respectively just by right click on the Project folder and open option.
-
The dashboard also makes it easy to delete the project, explore the project location.
Projects
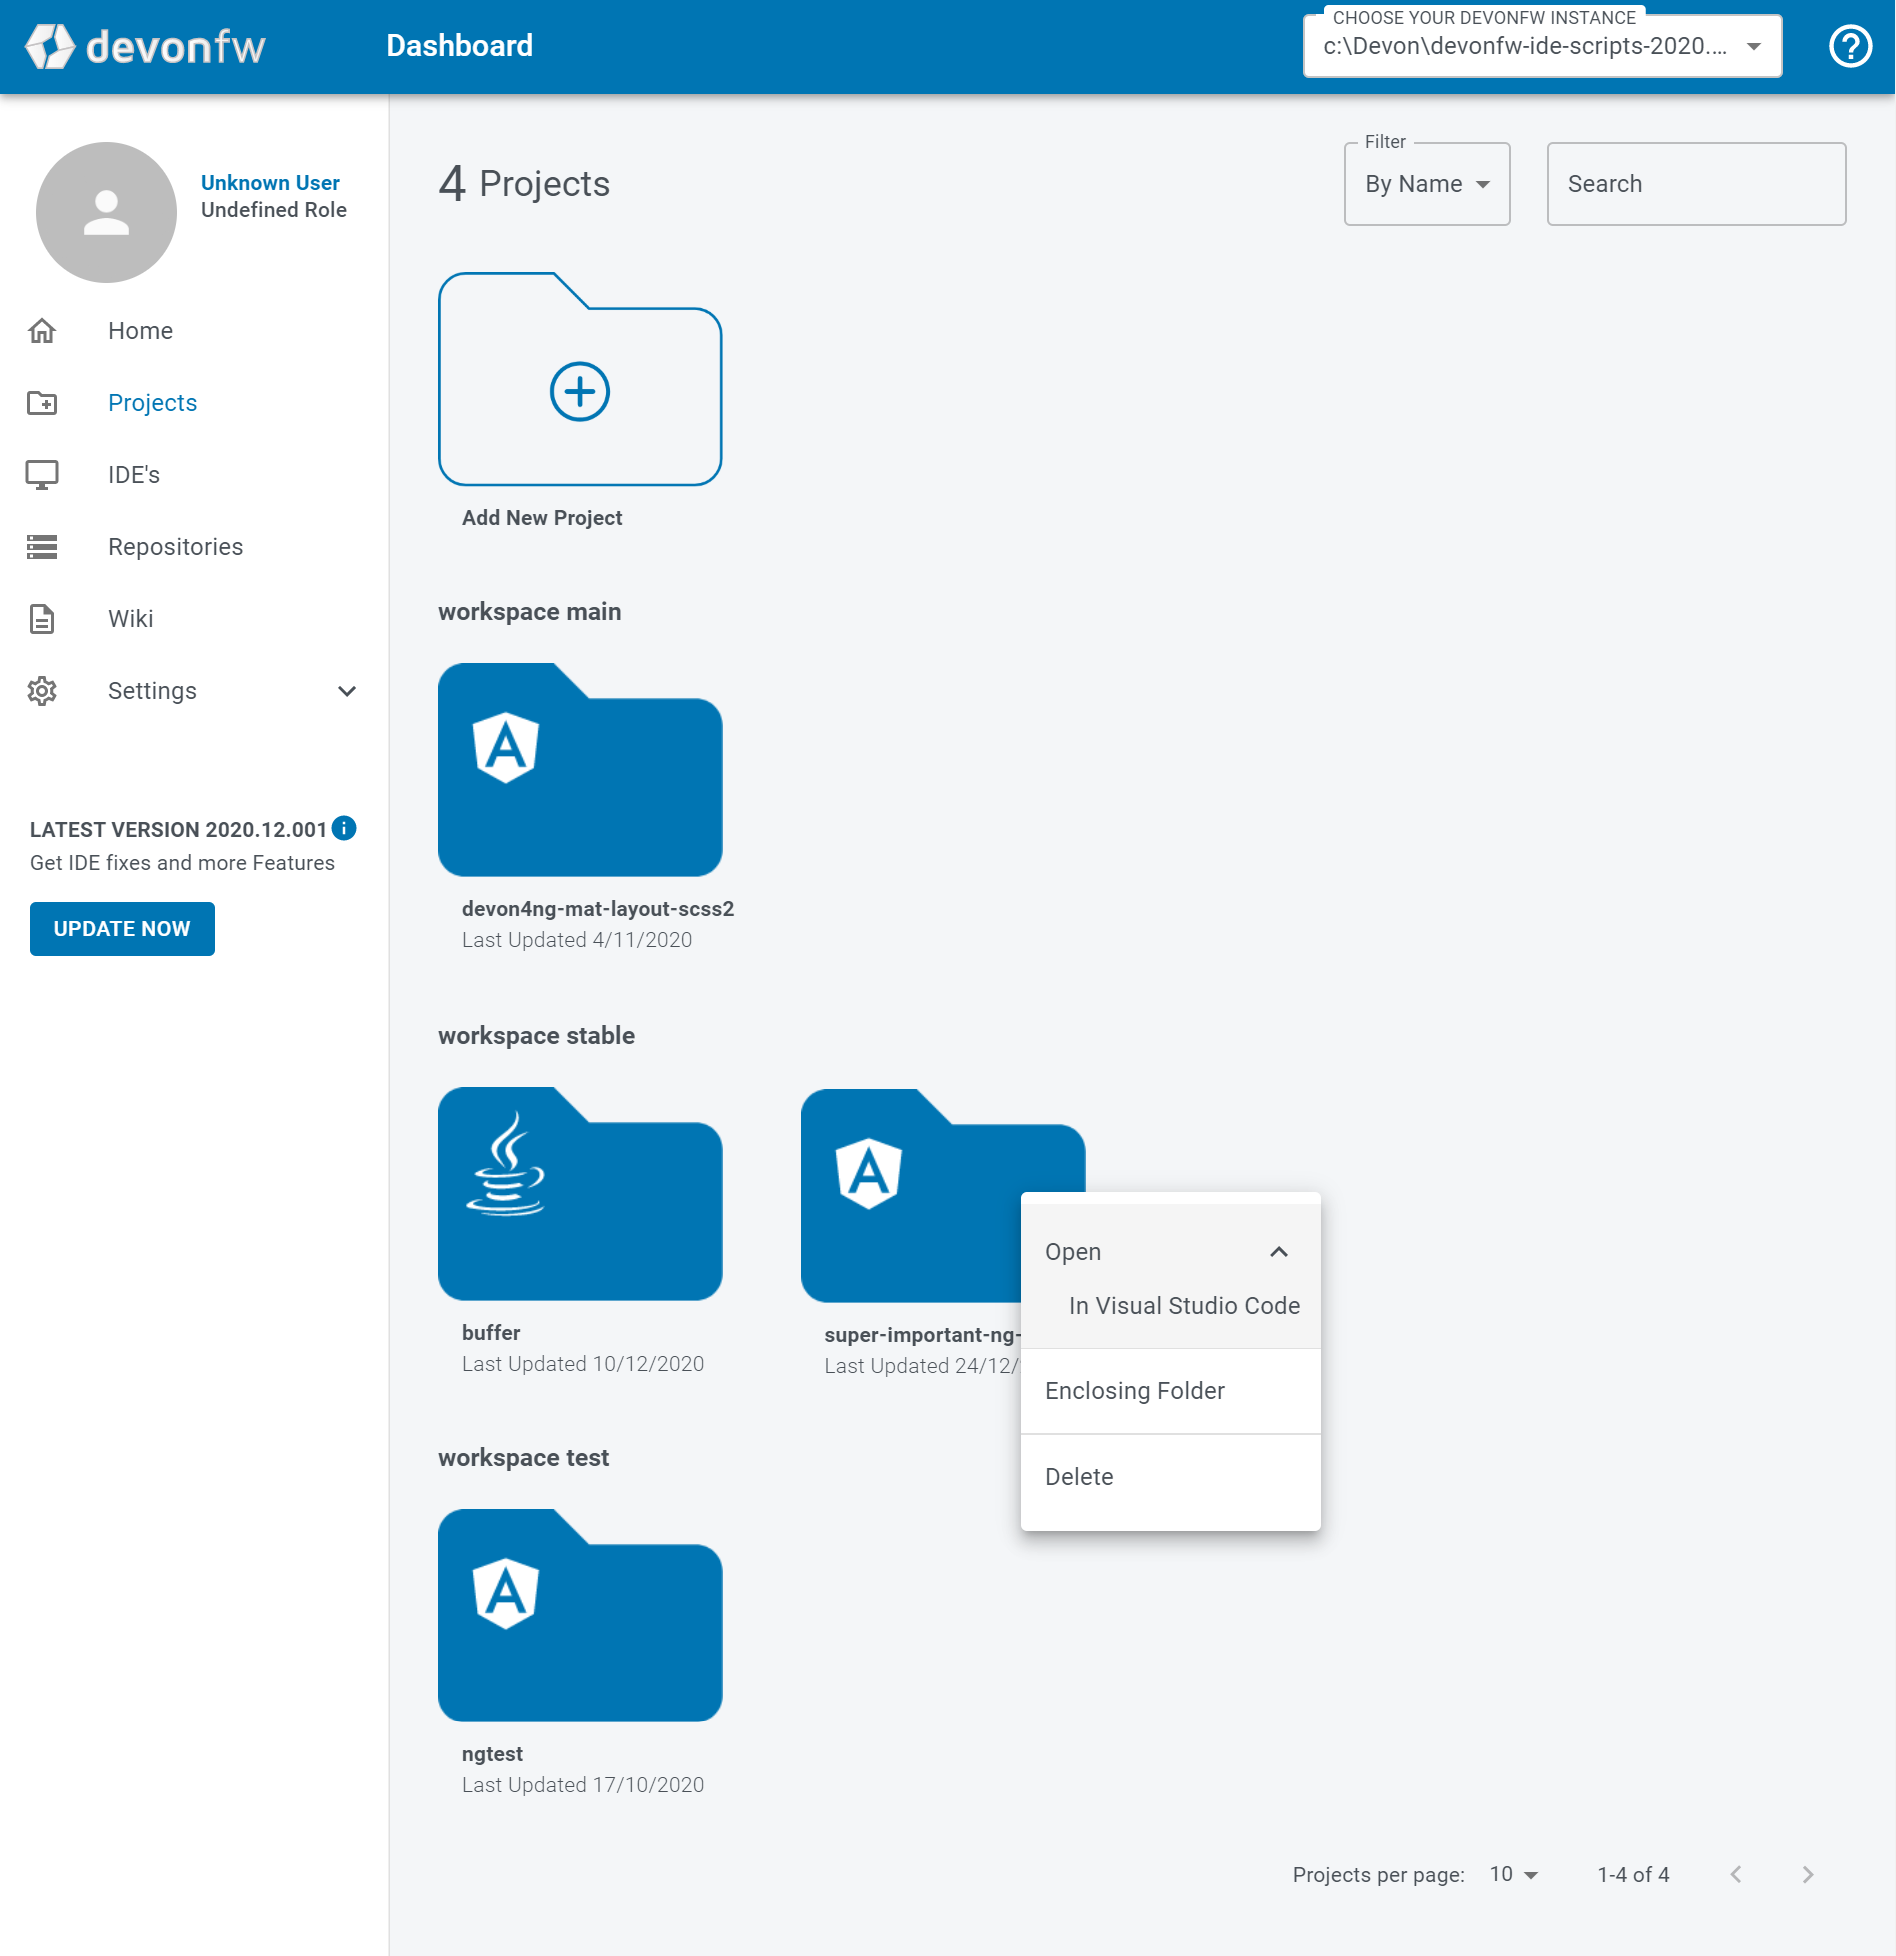
Click on the Projects link on the sidebar to navigate to the project’s screen. The screen displays all the projects in the currently selected devonfw-ide, grouped by the workspaces in which they exist.
Note: Currently it only displays projects created through the dashboard.
-
It shows the total number of projects available in each devonfw-ide.
-
Filtering and searching the projects.
-
Add New Project - For creating a Project.
-
Project folder which gives information about the project like which technology the project belongs to, the name of the project, and when it has created.
-
There are many operations that are available on right-click on Project folder they are :
-
Opening a project in different IDE ( Visual Studio or Eclipse )
-
Enclosing Folder, and
-
Deleting the project.
-
-
Users can see projects of different devonfw-ide workspace just by changing the option in the devonfw instance dropdown which is set globally at the top of the screen.
Click on Add New Project to start creating a new project.
How to create a project
Three main steps are involved in creating any devonfw project. They are:
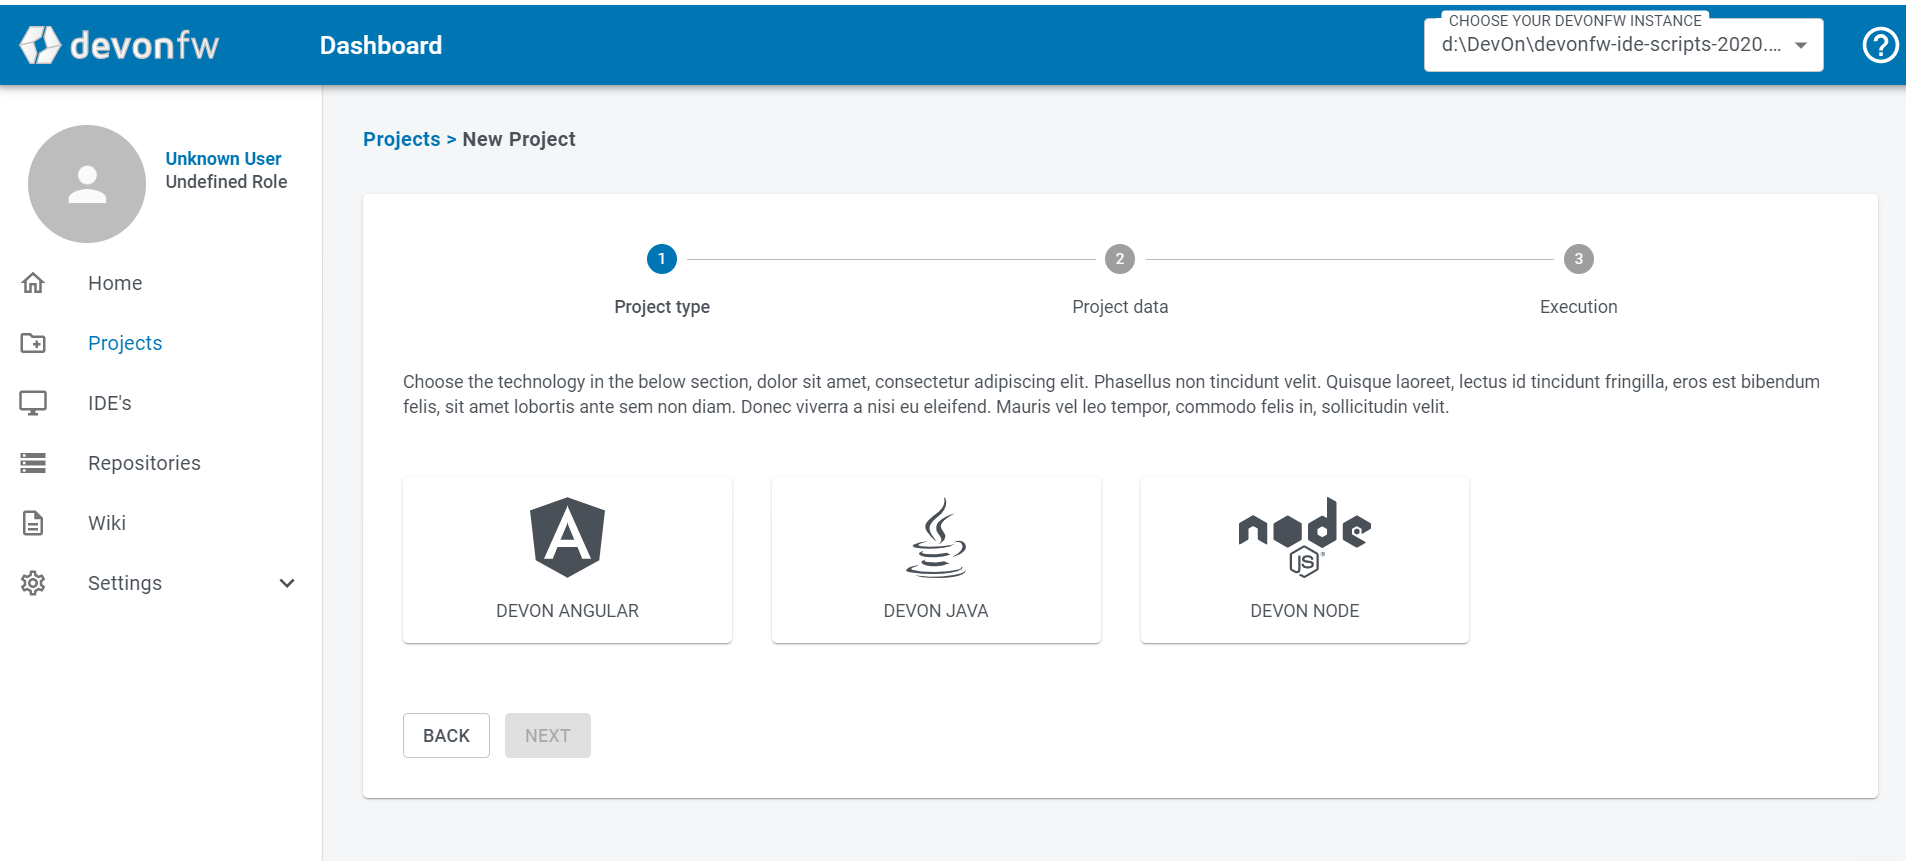
Step 1. Project Type
In this first step the user has to choose the language technology to start the project with, e.g. Angular, Java or Node and click the Next button for to continue to the next step.
Step 2. Project Data
After the Project type selection, the second screen will appear for the user to fill up all the required fields. User can select the workspace in the active devonfw-ide for the project in this step. Once the user enters all the required fields, the Next button will be enabled for the final step.
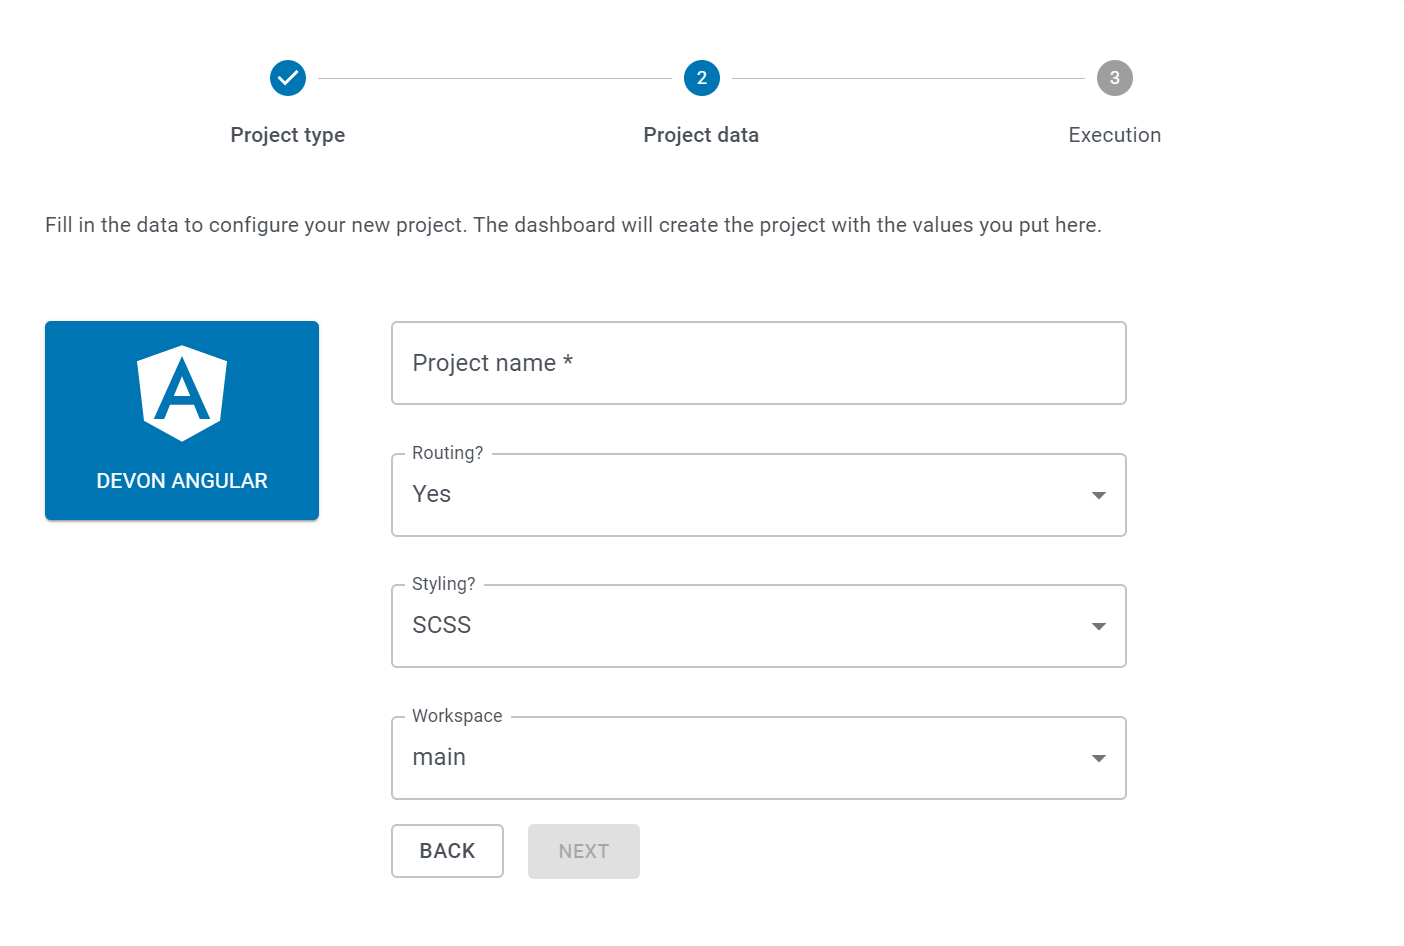
User can change the devonfw-ide workspace where the project is going to generate, just by changing the option in the devonfw instance dropdown which is set globally in the header of the dashboard.

Step 3. Execution
The execution step takes all the user entered data from the Project Data step and executes the respective commands to generate the project.
Execution has divided into two sections:
- Creation
- Setup Installation
-
Creates only source code and notify the user if the project creation fails or success.

-
In case any network issue or technical issue and the user wants to re-run the Project execution process, then the Retry button will help to start the process again.
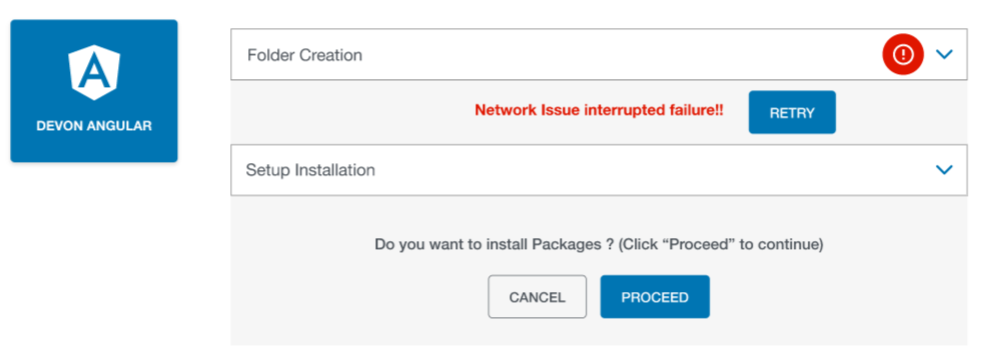
Allows user to install the dependencies of application (maven modules for java, node modules for node, angular) by clicking Proceed button.
The installation can be skipped by clicking cancel button.

Step 4. Click on Finish button to go to Project Details Screen.